
Solar Panel Repair Laredo TX
When a solar system underperforms, stops producing, or shows physical damage, repair starts with diagnosis — reading monitoring data, checking inverter status, and inspecting the array before deciding what needs fixing.
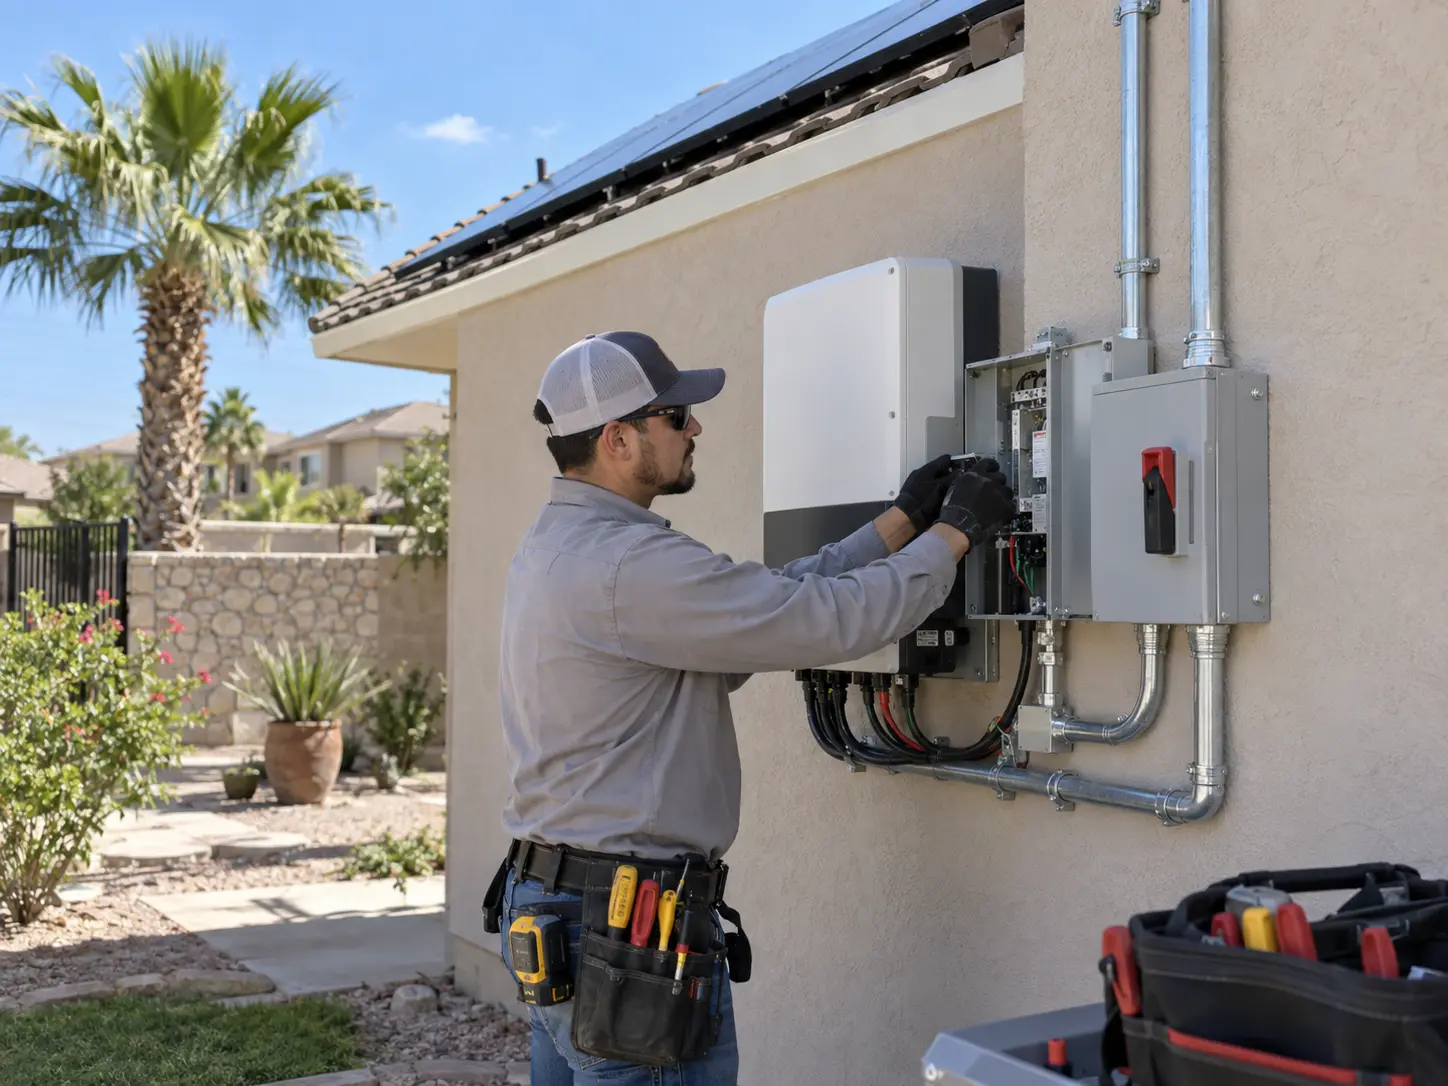
A solar array is a fixed installation with few moving parts, but it's still exposed to weather, thermal cycling and, occasionally, storm damage. Most issues show up first in production data — a monitoring app reading zero, a partial drop, or an inverter fault code — well before any physical damage is visible from the ground.
Diagnosing the actual cause matters before committing to a repair. A production drop might trace back to an inverter fault, a loose DC connection, a tripped disconnect, new shading, or a failing module. Repair work should follow that diagnosis rather than guessing at parts. If the issue turns out to be routine buildup rather than a fault, see solar panel cleaning; if it's time-based wear, see solar panel maintenance.
Common Reasons Owners Call for Repair
- Monitoring app shows no production or a sudden significant drop.
- Inverter is displaying an error code, fault light, or has gone offline.
- Visible physical damage — cracked glass, a bent frame, or loose racking after a storm.
- A breaker or disconnect associated with the solar system keeps tripping.
- Production has gradually declined over months without an obvious cause.
How Diagnosis Typically Proceeds
- Review monitoring history. Identifying when production changed and whether it was sudden or gradual.
- Check inverter status. Reading any error codes and confirming whether the inverter is operating.
- Visual inspection. Checking modules, racking, conduit and accessible wiring for visible damage or wear.
- Electrical testing. Testing connections, disconnects and string performance where needed.
- Written estimate. Presenting findings and a scoped repair estimate before work begins.
- Repair and verification. Completing the repair and confirming production returns to expected levels.
Seeing a production drop or fault on your system?
Describe what your monitoring app or inverter is showing and we'll help scope a diagnostic visit.
Components Commonly Involved in Repairs
- Inverters. String, micro or hybrid units that can fault, go offline or fail outright.
- DC and AC wiring connections. Connectors and terminations that can loosen or corrode over time.
- Disconnects and breakers. Safety equipment that can trip or fail.
- Individual modules. Cracked glass, hot spots or a single underperforming panel.
- Racking and attachments. Loosened hardware after storms or wind events.
- Monitoring gateway. Communication equipment that can lose connectivity independent of actual production.
Factors That Affect Repair Cost
- Time required to diagnose an intermittent or unclear fault.
- Whether a replacement part — inverter, module or hardware — is needed.
- Roof access requirements and array height or pitch.
- Whether the issue is covered by manufacturer or workmanship coverage from the original installer.
- Extent of any storm or physical damage requiring repair.
Questions to Ask a Repair Technician
- What does the monitoring data show about when this issue started?
- What is your diagnosis, and what evidence supports it?
- Is a replacement part required, and what is the lead time?
- Could this be covered under manufacturer or workmanship coverage?
- What is the total estimate before work begins?
- How will you confirm the repair resolved the issue?
Before You Call for Repair
- Check your monitoring app or portal for error messages and history.
- Note the approximate date production changed.
- Take photos of any visible damage to panels or racking.
- Check whether a breaker or disconnect has tripped.
- Gather your original installation paperwork if you have it.
- Avoid attempting to access rooftop equipment yourself.
How a Repair Visit Runs
- Step 1
Intake
Describing the issue, monitoring readings and any error codes.
- Step 2
Diagnosis
On-site inspection and testing to isolate the cause.
- Step 3
Estimate
A written scope and cost before repair work proceeds.
- Step 4
Repair and verify
Completing the fix and confirming production is restored.
Ready to compare solar options for your property?
Share a few details about your roof and current electricity use to start a property-specific quote request.
Solar Panel Repair FAQs
How do I know if my solar system needs repair?
Common signs include a monitoring app showing zero or unusually low production, an inverter displaying an error code or fault light, a sudden drop in output not explained by weather or shading, or visible physical damage such as a cracked module or loose racking. Compare current production to the same period in a prior year when possible, since seasonal variation is normal.
What typically causes a drop in solar production?
Causes range from a failed or faulting inverter, a loose or corroded wiring connection, a tripped disconnect, new shading from tree growth or a new structure, to a damaged or underperforming module. Diagnosis usually starts with the monitoring data and inverter status before any equipment is opened up.
Can hail or storm damage be repaired?
Cracked glass, damaged frames or storm-loosened racking are diagnosed and, where feasible, repaired or the affected components replaced. Severity varies — a single cracked module may be replaced individually, while widespread racking damage may require a larger repair scope. Document damage with photos and check your homeowner's insurance policy regarding coverage.
Is a system under warranty still eligible for repair calls?
Manufacturer product coverage for panels or inverters is handled directly with the manufacturer per that document's terms, and workmanship coverage from your original installer covers installation-related issues per their own terms. A repair technician can diagnose the issue and advise which coverage, if any, applies, but coverage terms are set by whoever issued them, not by the technician making the visit.
How is a repair problem diagnosed?
Diagnosis typically starts by reviewing monitoring history for when and how production changed, checking inverter status and error codes, then a physical inspection of accessible wiring, connections, disconnects and module condition. Some issues are found quickly; others, particularly intermittent faults, take longer to isolate.
What does a typical repair visit cost?
Repair cost depends on the diagnosis time required, whether replacement parts are needed, and whether roof access equipment is necessary. A loose connection or a disconnect issue is generally a smaller repair than replacing an inverter or a damaged module. Ask for a written estimate after diagnosis before repair work proceeds.
Related Solar Resources
- Solar Panel MaintenanceRoutine checks that catch issues early.
- Solar System InspectionA full condition review of your system.
- Solar Inverter InstallationInverter types and replacement considerations.
- Solar Panel Cost in Laredo TXCost variables across solar services.
- Solar Savings CalculatorModel production, offset and savings.
Notice a drop in production? Request a repair estimate or call 956-395-1662.
Ready to Explore Solar for Your Property?
Start with a quick quote request and provide a few details about your property and current electricity use.